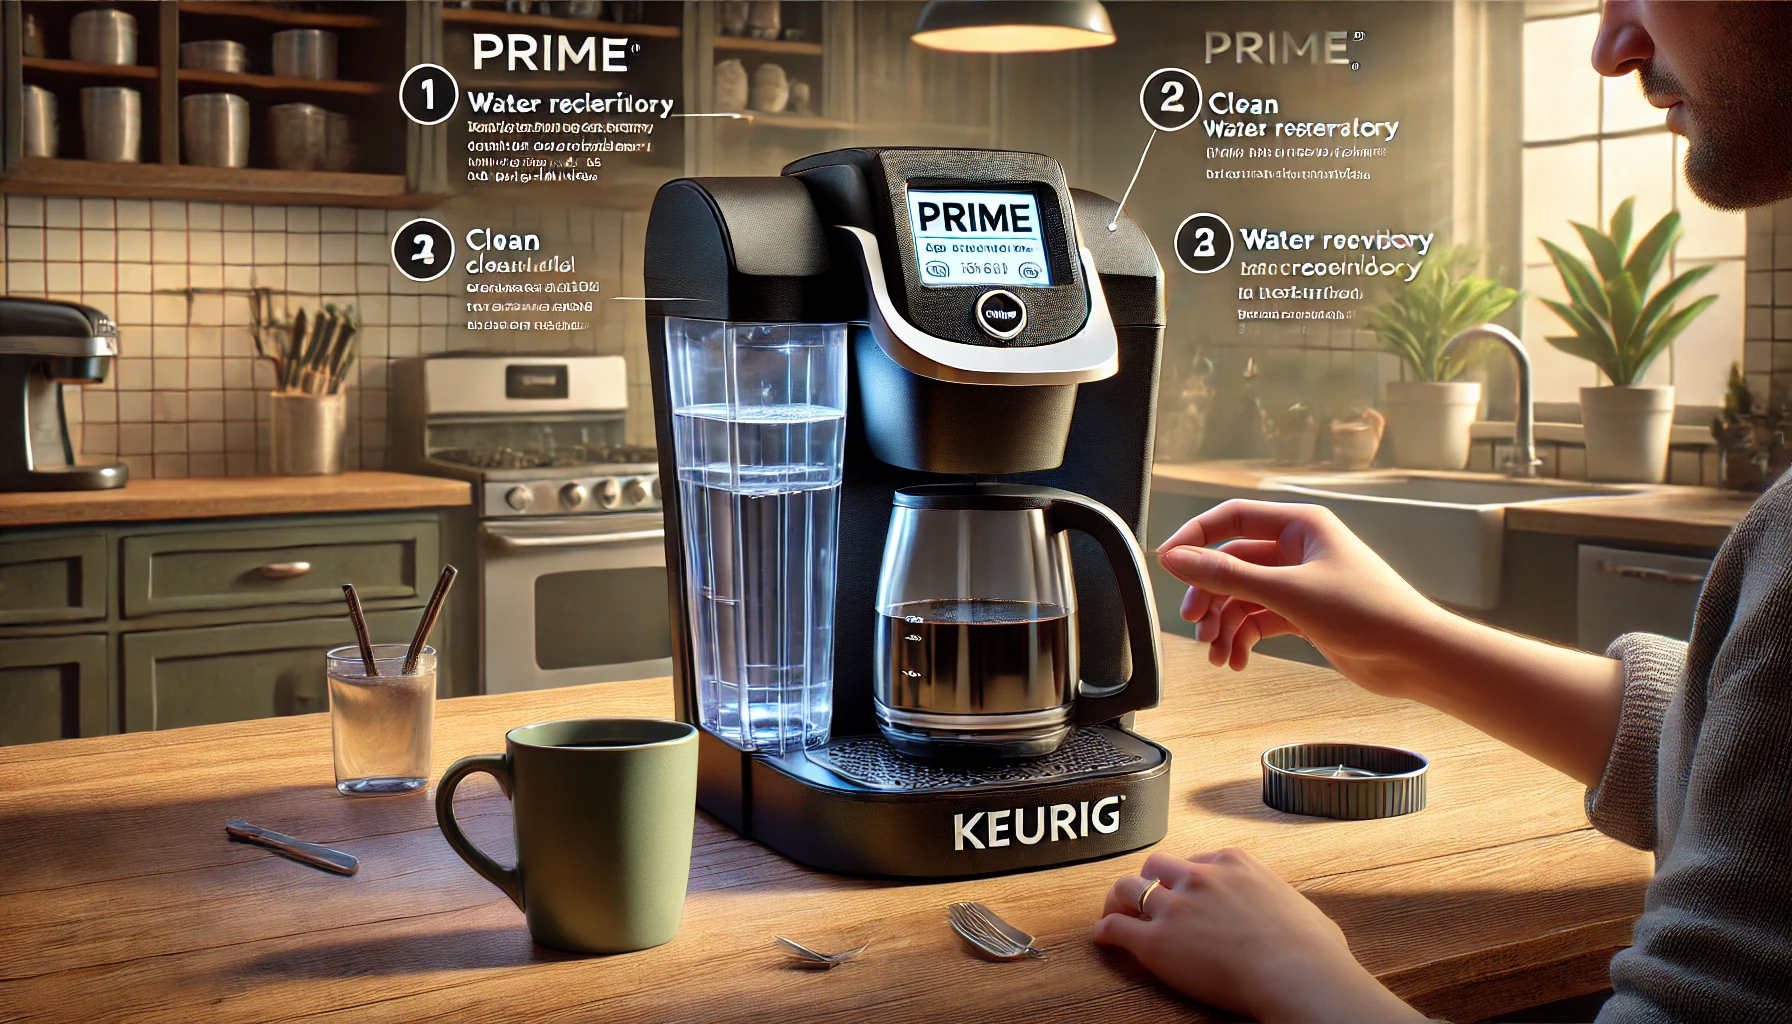
You’re all set for your morning coffee, you press the brew button on your Keurig, and instead of that rich, steaming cup of coffee, you get an error message: “Prime”.
Frustrating, right?
This issue is common among Keurig coffee maker users and often means your machine is having trouble drawing water from the reservoir. It could be due to clogged needles, a misaligned reservoir, or even mineral buildup inside the machine.
But don’t worry! In this guide, we’ll walk you through step-by-step Keurig priming instructions to get your coffee machine back in action. Plus, we’ll cover common causes, how to fix them, and simple maintenance tips to keep your Keurig running smoothly.
What Does the ‘Prime’ Error on a Keurig Mean?
When your Keurig displays a ‘Prime’ error, it’s essentially telling you that the machine can’t pull water from the reservoir into the brewing system. This can happen for several reasons, such as:
- A clogged water line or coffee grounds blocking the needles.
- A misaligned or improperly inserted water reservoir.
- A dirty or clogged water filter.
- Mineral buildup inside the machine from using unfiltered tap water.
Ignoring this issue can cause more serious brewing problems, so let’s dive into how to fix the Prime error and get your Keurig back in working condition.
See more: Espresso Machines vs Coffee Makers: Find Your Perfect Brew Companion
Step-by-Step Guide to Keurig Priming Instructions
Now that you understand why your Keurig is displaying the Prime message, let’s go through a simple, step-by-step process to resolve it.
Step 1: Turn Off and Unplug the Machine
Before troubleshooting, always unplug your Keurig to avoid any electrical mishaps. Give the machine a few minutes to cool down before you begin.
Think of this step like restarting your phone when it’s acting up—it resets the system and sometimes solves the issue immediately!
Step 2: Remove and Inspect the Water Reservoir
A misaligned or dirty water reservoir is one of the most common causes of the Prime error. Here’s what you should do:
- Remove the reservoir from the machine and empty any remaining water.
- Check the bottom of the reservoir for any debris, dirt, or buildup.
- Inspect the filter (if your model has one). If it looks dirty, replace it.
- Wipe down the area where the reservoir connects to the machine, ensuring there’s no obstruction.
After cleaning, refill the reservoir with filtered or distilled water and reinsert it firmly into place. Sometimes, simply removing and repositioning it solves the issue instantly.
Step 3: Clean the Needles
Over time, coffee grounds and mineral deposits can clog the needles that pierce the K-Cup, blocking the water flow.
To clean them:
- Open the Keurig lid and locate the entry and exit needles.
- Use a paperclip or a needle cleaning tool to gently clear out any blockages.
- Rinse the area with warm water to remove any leftover residue.
This small step can significantly improve water flow and reduce brewing problems.
Step 4: Run a Water-Only Brew Cycle
Once you’ve cleaned everything, it’s time to test if your Keurig is working properly.
- Place a mug under the machine (without inserting a K-Cup).
- Select the largest cup size and run a water-only cycle.
- If the water flows smoothly, your machine is ready to go!
- If the Prime error persists, move on to the next step.
Step 5: Descale Your Keurig
If cleaning the water reservoir and needles didn’t solve the issue, you may have mineral buildup inside your machine. This is especially common if you use tap water instead of filtered water.
How to descale your Keurig:
- Fill the reservoir with a mix of white vinegar and water (50/50 ratio).
- Run a few water-only brew cycles until the reservoir is empty.
- Refill with fresh water and run another cycle to remove any vinegar taste.
Descaling your Keurig every 3-6 months prevents the Prime error and ensures smooth brewing.
Preventive Maintenance Tips to Avoid the ‘Prime’ Error
Fixing the Prime error is great, but wouldn’t it be better to prevent it from happening again?
A little routine maintenance goes a long way in keeping your Keurig coffee maker running smoothly. Here are some pro tips to help you avoid brewing issues in the future.
1. Use Filtered or Bottled Water
One of the biggest culprits behind the Prime error is mineral buildup from tap water.
Hard water contains calcium and magnesium, which can clog your machine over time. Using filtered or bottled water reduces mineral deposits, helping your Keurig last longer and perform better.
Pro tip: If you must use tap water, make sure to descale your machine every three months to keep those minerals from wreaking havoc.
2. Clean the Water Reservoir Weekly
It might not seem like a big deal, but over time, dust, mold, and bacteria can build up in your Keurig’s water reservoir.
To prevent this:
- Empty the reservoir daily and let it air dry overnight.
- Once a week, wash it with warm, soapy water and rinse thoroughly.
- Never refill it with old, stagnant water—always use fresh water to keep your coffee tasting great.
It only takes a few minutes, but this simple habit can prevent blockages and bacteria growth inside your machine.
3. Regularly Clean the Needles
The entry and exit needles in your Keurig play a huge role in the brewing process, but they can easily get clogged with coffee grounds and debris.
Cleaning them once a month keeps your machine running smoothly.
- Use a paperclip or a Keurig needle cleaning tool to remove any blockages.
- Run a water-only brew cycle afterward to flush out any remaining debris.
Trust me, this is one of the easiest ways to avoid brewing issues and keep your Keurig working like new.
4. Descale Every 3-6 Months
If you’re not already descaling your Keurig, now’s the time to start!
Even if you use filtered water, minerals will still build up inside your machine. Descaling removes limescale and calcium deposits, preventing clogging and improving performance.
Here’s how to properly descale your Keurig:
- Fill the water reservoir with a mix of white vinegar and water (50/50 ratio) OR use Keurig’s official descaling solution.
- Run several brew cycles (without a K-Cup) until the reservoir is empty.
- Refill with fresh water and run more cycles to flush out the vinegar taste.
Doing this every 3-6 months will extend the life of your machine and prevent annoying errors.
5. Store and Handle Your Keurig Properly
Your Keurig might be a coffee powerhouse, but it still needs proper care.
- Avoid overfilling the reservoir, as excess water can leak and cause issues.
- Keep your machine in a dry, cool area—excess moisture can lead to mold buildup.
- If you’re storing it for a long period, empty the reservoir and dry all parts thoroughly.
A little care and attention can keep your coffee maker in top condition for years to come.
Common Mistakes That Can Cause the ‘Prime’ Error
Even with regular maintenance, some habits can lead to the Prime error. Here are a few mistakes to avoid:
1. Using the Wrong Type of Water
- Hard water = mineral buildup = clogged Keurig.
- Always use filtered or bottled water for better performance.
2. Forgetting to Clean the Needles
- If your machine isn’t piercing the K-Cup properly, coffee grounds can clog the system.
- Clean the needles at least once a month to prevent blockages.
3. Ignoring the Water Reservoir Alignment
- If the reservoir isn’t properly seated, the machine won’t be able to draw water.
- Always double-check the alignment after refilling.
4. Skipping Regular Descaling
- Not descaling = calcium deposits clogging the system.
- Descale every 3-6 months to keep your Keurig in top shape.
When to Call Keurig Customer Support
Tried everything, but your Keurig still won’t work?
If you’ve followed all the troubleshooting steps and the Prime error persists, it might be time to contact Keurig’s customer support.
They can help with:
- Machine warranty claims (if your Keurig is still under warranty).
- Advanced troubleshooting for internal issues.
- Replacement parts if something is broken.
Before calling, make sure you have your Keurig model number and purchase details ready.
Final Thoughts
The Prime error on a Keurig is annoying, but it’s usually an easy fix.
By following these step-by-step Keurig priming instructions, you can get your coffee maker back to brewing quickly and efficiently.
And remember: Preventative maintenance is key!
- Use filtered water
- Clean your needles and reservoir regularly
- Descale your Keurig every 3-6 months
Doing these simple things will keep your Keurig running smoothly and your coffee tasting fresh every morning.
I’m Jeff Olson, and I love coffee. In fact, I’m something of a professional about coffee. I own and operate coffeemachinenes.com, one of the web’s top resources for everything coffee-related. I’m also an avid home barista, and enjoy experimenting with different brewing methods and flavor profiles. When I’m not nerding out about all things coffee, you can find me playing guitar or spending time with my wife and kids.

